Choose the light before the pencil marks
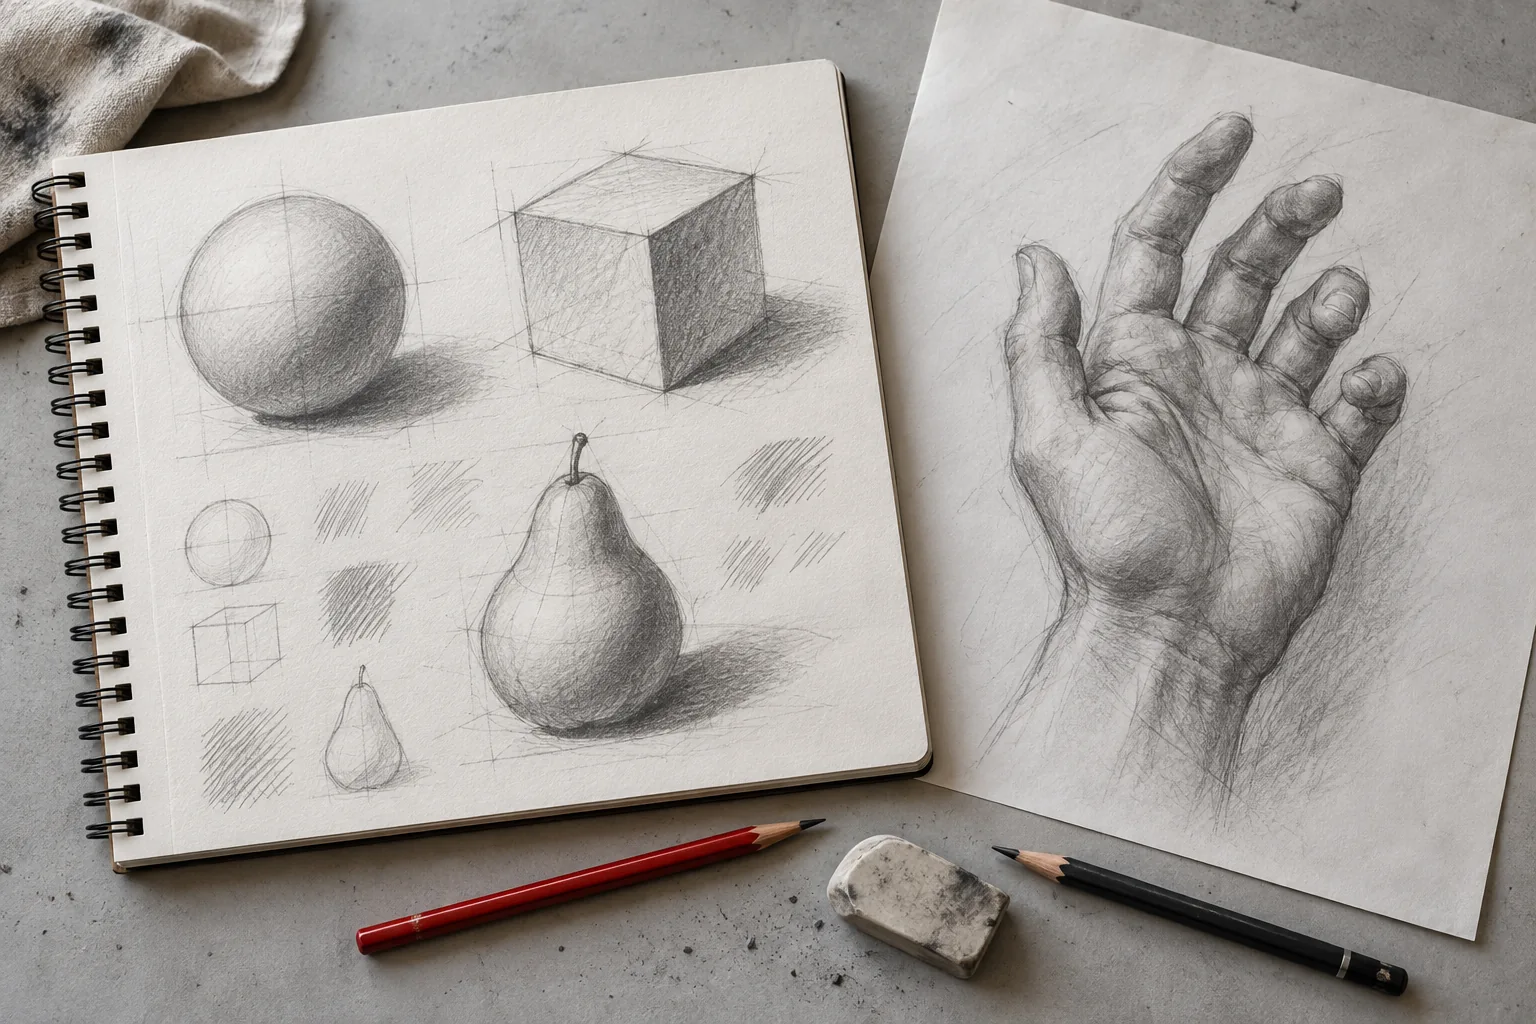
Imagine a lamp above and to the left of a sphere. The light-facing side is brighter; the opposite side grows darker. Keep this decision consistent. Two unrelated shadow directions make even a detailed drawing confusing.
Separate the big value groups
Use a scale of five values: paper, pale grey, middle grey, dark grey and your darkest mark. Group the light side separately from the main shadow before adding transitions. The brightest highlight is usually smaller than beginners expect.
Core shadow and reflected light
The core shadow is a darker band on the form where it turns away from direct light. Reflected light can lift the shadow edge, but usually remains darker than the light-facing areas. Do not turn that edge into a bright outline.
Cast shadows anchor objects
The shadow on the table helps explain the sphere’s position. Its edge is often sharper near contact and softer farther away, depending on the light source. The contact area can be among the darkest parts of the study.
Hatching, cross-hatching and blending
Hatching uses spaced parallel marks; cross-hatching adds another direction. Marks can follow curvature. Blending softens transitions but can muddy a drawing if you blend before the values are organised. Keep a few crisp edges and avoid rubbing every area equally.
Put it on paper
A small exercise. A useful start.
Draw a circle, place the light above-left and sketch a cast shadow to the right. Reserve a small highlight, build the main shadow with two values, then soften only the transition. Check the diagram below.