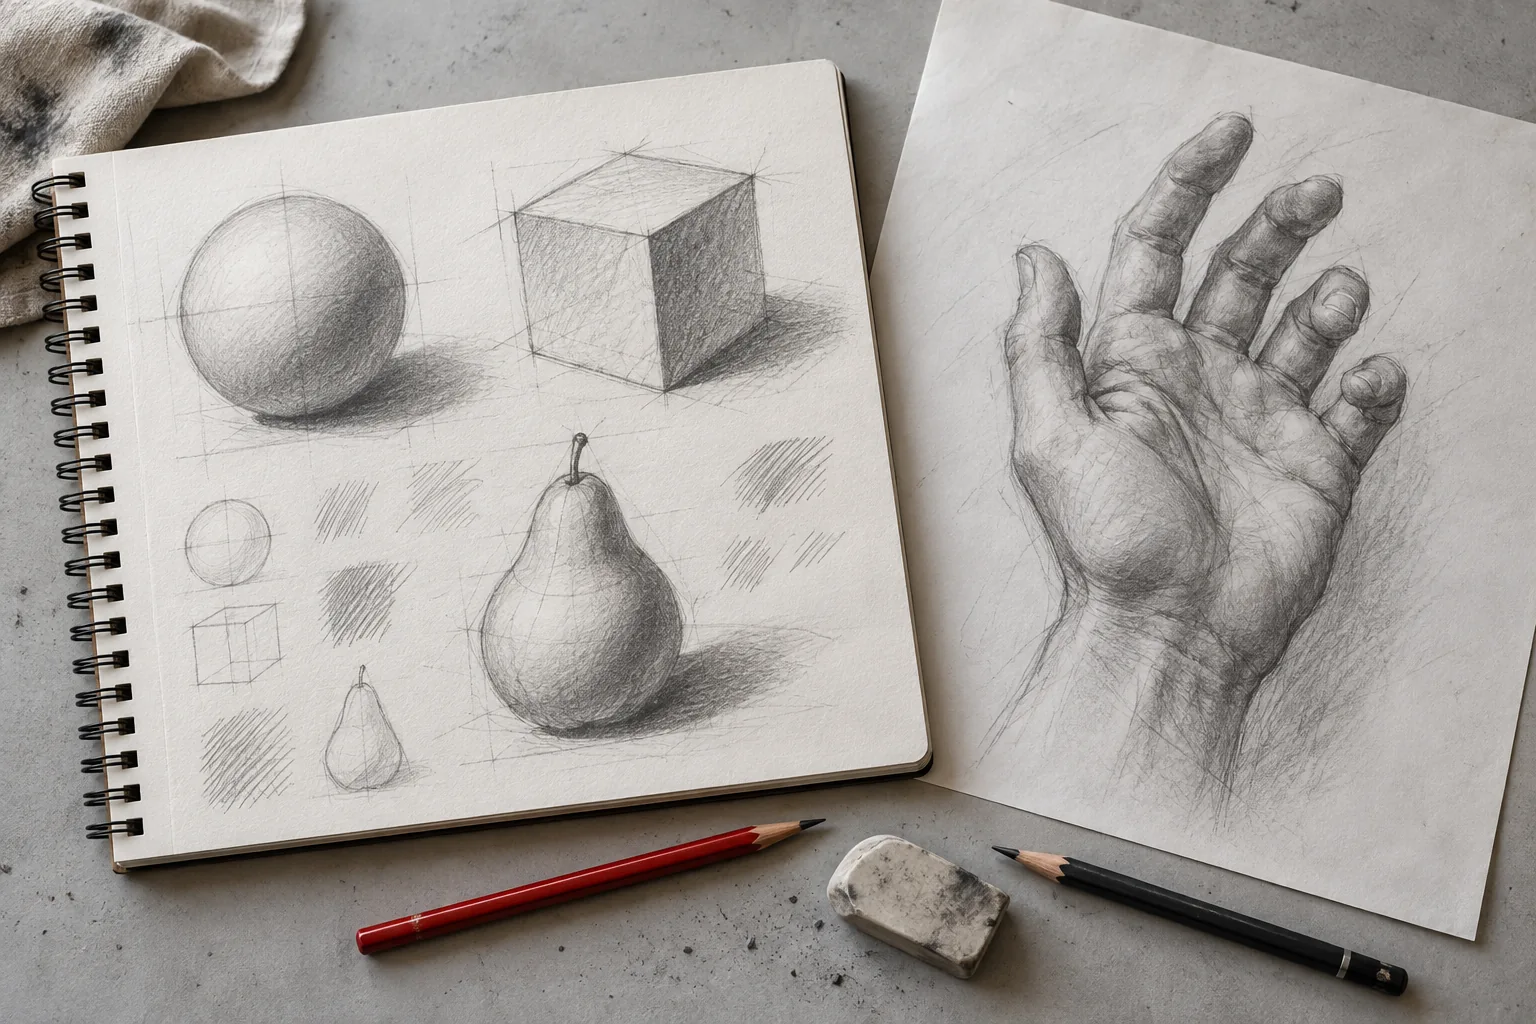
Starting drawing is easier when your first goal is a decision you can make, not a masterpiece you need to finish. You can decide where the top of a mug sits, whether its opening is wider than its base and which side faces the light. These small decisions form a drawing.
You need an HB or 2B pencil, an eraser, unruled paper and an ordinary object. Choose a mug without a complicated pattern. Put it somewhere with one main light source. Leave enough room around it to see the silhouette.
First, look without drawing
Spend two minutes observing. Compare the mug’s height with its width. Notice whether the opening looks like a narrow ellipse or a wider one. Look at the space inside the handle. These relationships matter more than the brand printed on the side.
Hold your pencil at arm’s length to compare sizes if that helps, keeping your position consistent. You are making a relative comparison, not measuring exact centimetres. Moving your head between measurements changes the view.
Block the big shapes lightly
Draw a faint rectangle for the overall height and width. Add the ellipse at the top and a curved base. Place the handle as a simple shape beside the body. Use light marks so you can move a line without leaving a deep groove.
Check what the drawing looks like before adding details. If the handle is too large, fix it now. Drawing a beautiful pattern on a wrongly proportioned mug will make the mistake more difficult to notice and correct.
Compare the empty spaces
The space inside the handle can reveal a proportion error. So can the gap between the handle and the mug body. Instead of asking whether the mug looks “right”, ask whether those empty shapes resemble the ones you see.
Turn the paper briefly upside down if your memory of a mug is getting in the way. You may notice angles more clearly when you stop naming the subject. Then return to the original orientation and check against the object.
Use three values first
Find the light side, the darker side and the cast shadow. Shade the large dark group lightly, then make the contact shadow a little darker. Leave lighter paper for the light side. You do not need a smooth photographic finish.
Keep the light direction consistent. If the lamp is to the left, a large dark patch on the left-facing surface needs a reason. Read our shading guide for a simple sphere example.
Finish with one useful note
Stop after ten or fifteen minutes. Write a sentence such as “The opening was too round” or “The handle should be smaller”. Avoid “I’m bad at drawing”. A specific observation gives you an exercise; a label about yourself does not.
Repeat the same mug tomorrow and change only the thing you noted. Save both attempts. You are learning a process of observation, construction and adjustment. Our beginner roadmap explains how to extend that process.
When a lesson helps
If you keep getting stuck at the same decision, structured guidance can help you isolate the skill. Try a short lesson, complete the exercise and ask a focused question. NIDAL’s first chapter is free at NIDAL Learn. You can explore it without committing to a membership.
Drawing from scratch does not mean ignoring every previous attempt. Your imperfect pages are evidence of what you noticed and what you need to practise next. Keep them.